How To Build A Gallery Wall
A BSG guy needs more than just well-groomed hair, he needs a well-groomed space. And a tried and true way to achieve this is with one of the design world’s most classic concepts – a gallery wall.
But before we dive into the how-to’s of gallery wall making, let’s start with the basics.
I’m Chrissy Droessler – founder of framed & matted. I started framed & matted six years ago because I wanted to change the way people frame art and to make it a whole lot easier. I’ve been in the art and design business for a while and know a thing or two about putting together a very impressive gallery wall. So, if you’re ready for your space to look just as sharp as you, read below for my best tips on assembling your very own gallery wall.

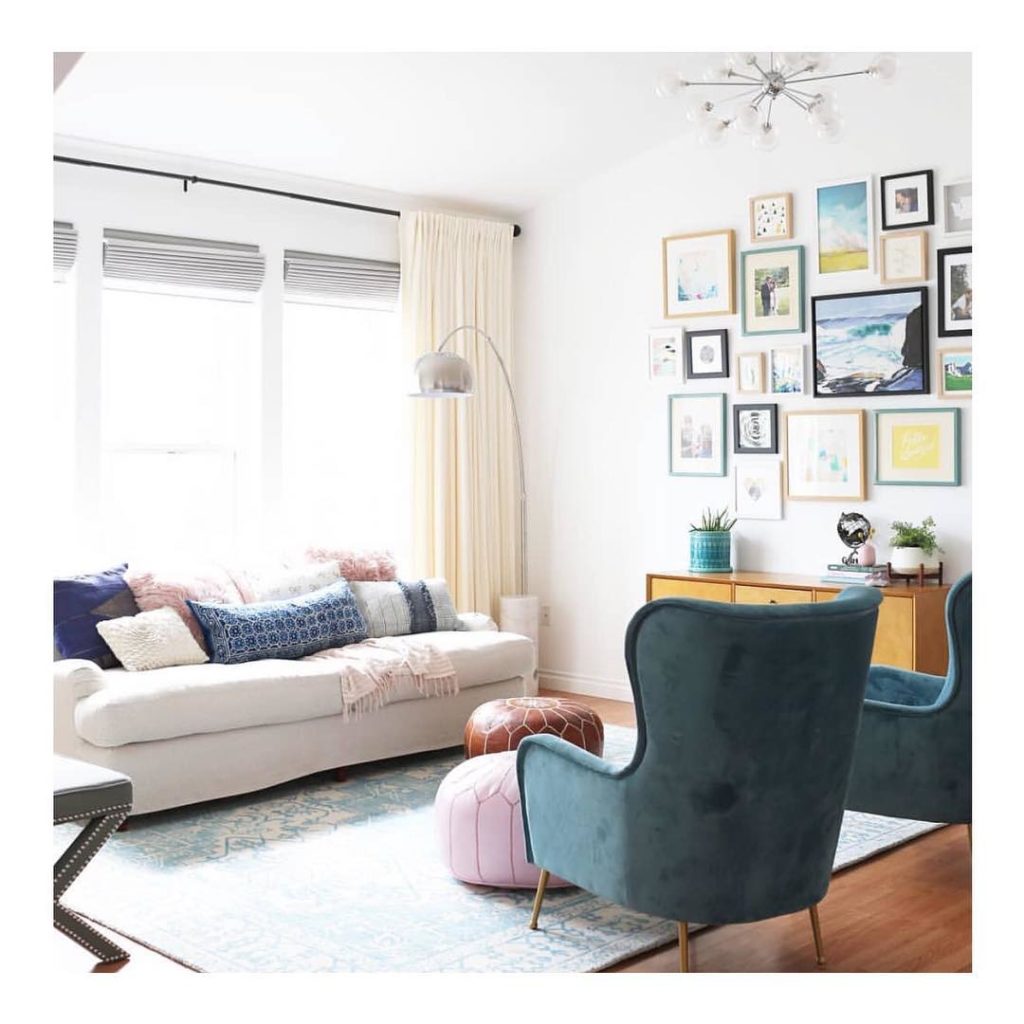
If you look up “gallery wall” in the dictionary, you’ll see this photo. Perfection.⠀ ⠀ // featuring our Addison Natural frames + White Ice mats// #regram @athomeinlove
Designing the Ultimate Gentleman’s Quarters
How To Build A Gallery Wall
Gallery walls are a personal way to make an interior design statement and fill your home with something that is both meaningful and completely unique to you. Whether it is a wall filled with postcards from your travels, art you have collected, or photos of your loved ones, the possibilities are endless.
The first thing to note is that there are no rules for creating the perfect gallery wall. Because of this, each gallery wall is different, which is what makes it interesting and fun. Don’t overthink it, just let your creative juices flow. But if you find yourself needing some direction, here’s a play-by-play to make it easy.
Designing your wall:
- Pick the perfect space in your home. This can be a focal
- Get Inspired. I don’t want to brag, but our Pinterest features some of the best gallery walls on the internet. It’s a smorgasbord of home decor inspiration, so definitely hop over to it if you’re needing ideas.
- Pick your gallery wall “look”. What does this mean? It’s simple – decide what type of gallery wall and frame layout you actually like and want in your home. Some popular styles include an eclectic layout (different frames and sizes) or a grid pattern (perfectly level and lined up frames for an orderly look).
Eclectic – eclectic walls are a great option if your gallery wall will continue to grow or be added to. If you go this route, make sure you have an anchor piece to work around.
Grid – an orderly and clean look always works great. If your artwork isn’t all the same size, you can simply keep the frames the same size but with varying mat sizes to make an eclectic group of artwork look more organized.
-
- Pick frame style. Go with eclectic (I like to keep at least one element of the wall similar as to not look too crazy), or monochrome for a cohesive look, which would mean all the same frame or color. A roundup of our favorite frame and mat combinations can be found in our lookbook.
- Decide what you want to frame. Gallery walls are an opportunity to show your personality. I always suggest picking items that are meaningful to you or might be good conversation starters.
- How many artworks would you like to include? There is no rule about the number of artworks that need to be in your gallery wall. But if you have an eclectic mix, I recommend choosing an odd number. Making the arrangement more pleasing to the eye.
- Measure your space to be sure everything will fit. Leave at least 6” between your gallery wall and the wall.
- Make sure the wall has good light: Natural or artificial.

Hanging your wall:
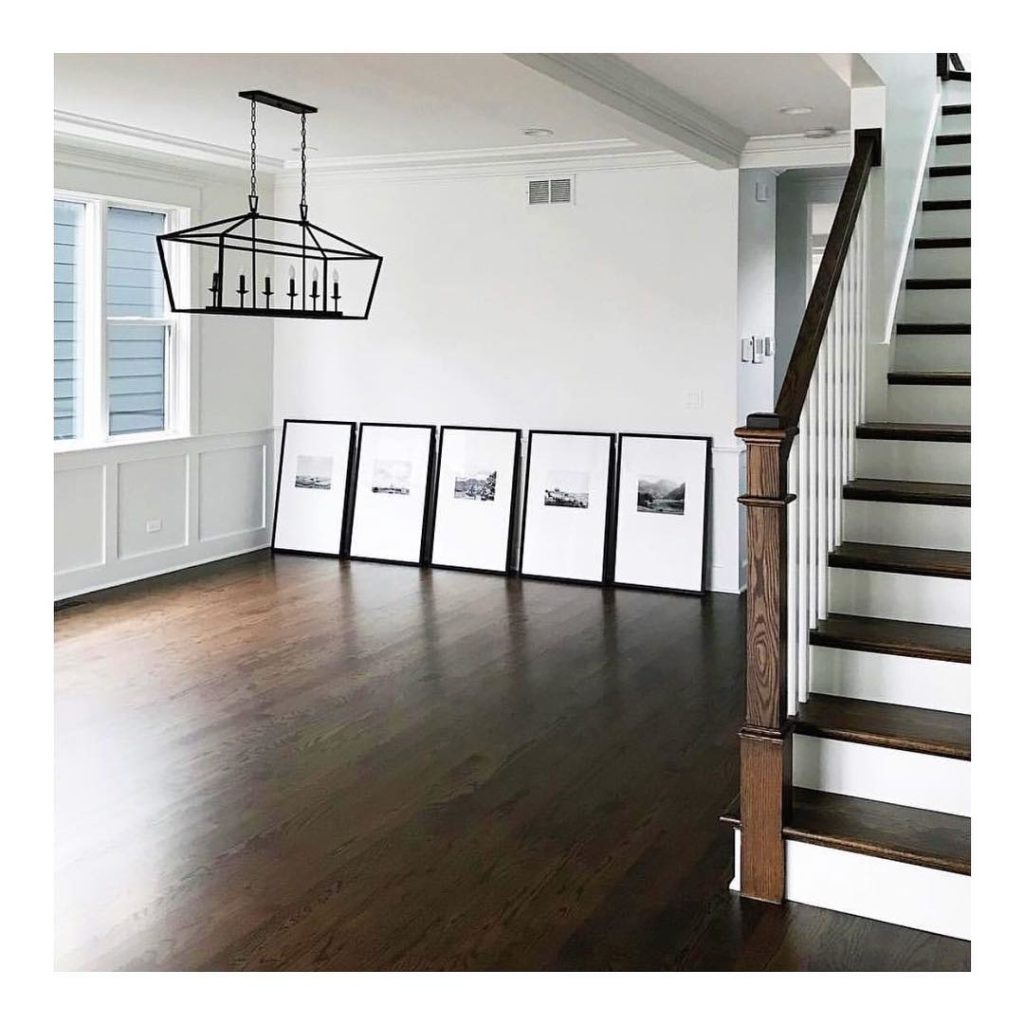
- Layout frames on the floor. Once you have all your frames, lay them all out on the floor in your desired layout. This is a good time to finalize spacing and to be sure you have a balanced arrangement. Play around and rearrange things on the floor before making any final decisions. If doing an eclectic wall, start with your biggest/boldest piece and work out from there. Also, try not to hang the boldest work directly in the center of the arrangement. This keeps the eye moving across the display.
- Create paper templates. Use paper or newspaper to create frame templates. Although this seems like an unnecessary step, taking the time now to do this will save you from a hanging nightmare down the line.
- Mark nail location. Be sure to mark where the nail needs to sit on each frame template. This way you can put the nail in the best place before putting the actual frame up.
How to mark your template: place the template on the back of the frame, pull the wire towards the top of the frame at the center. When taut, this is where the nail will sit when on the wall. Mark this spot with an X.
- Find the centerline of your wall. Now it’s time to prep your wall. Mark the center of the wall and work out from there. Mark your wall at eye level, about 57-61 inches. This will be the centerline of your compete arrangement.
- Hang paper templates on the wall. Once your frame layout is decided, take the corresponding paper cutouts and place them in the same arrangement on the wall.
- Finalize wall layout. Shift everything around to achieve your desired arrangement. This step is important. Make sure you work out the spacing between frames, about 3-6 inches, and make sure the paper cutouts are lined up correctly and your wall looks balanced.
- Hammer picture hooks. For each frame, hammer the picture hook into the wall directly where the mark is on the template. Remove the paper template and place the frame in its spot.
- Level frames. Once everything is hung, adjust the frames so they are all level (not tipping). Now your wall is complete!

This gold frame and black mat combo has us like 😍.⠀ ⠀ // featuring our Crocker Gold frames + White Ice & Dark Black mats // #regram @ester.fomenko⠀
Additional ideas:
- You can always layer frames. For example, have one large one hanging and the others leaned against it/the wall. This works particularly well above a fireplace or sideboard.
- Have an ugly TV? A gallery wall is a perfect way to hide it. Scatter your frames around it so your TV is part of the composition.
Gallery walls truly are a reflection of your life, personality and style. At Framed & Matted, we simply want to help you take these things and create a meaningful story to display in your home.
For more tips, tools, inspiration and custom frame ideas, be sure to check out our website.
